Overview
The technology stack is an industry-standard when it comes to web development, it delivers the best cost efficiency, flexibility, and performance.
- Linux (operating system)
- Apache (HTTP server)
- MySQL (relational database management)
- PHP (programming language)
All these tech layers are free and open source.
Registrations
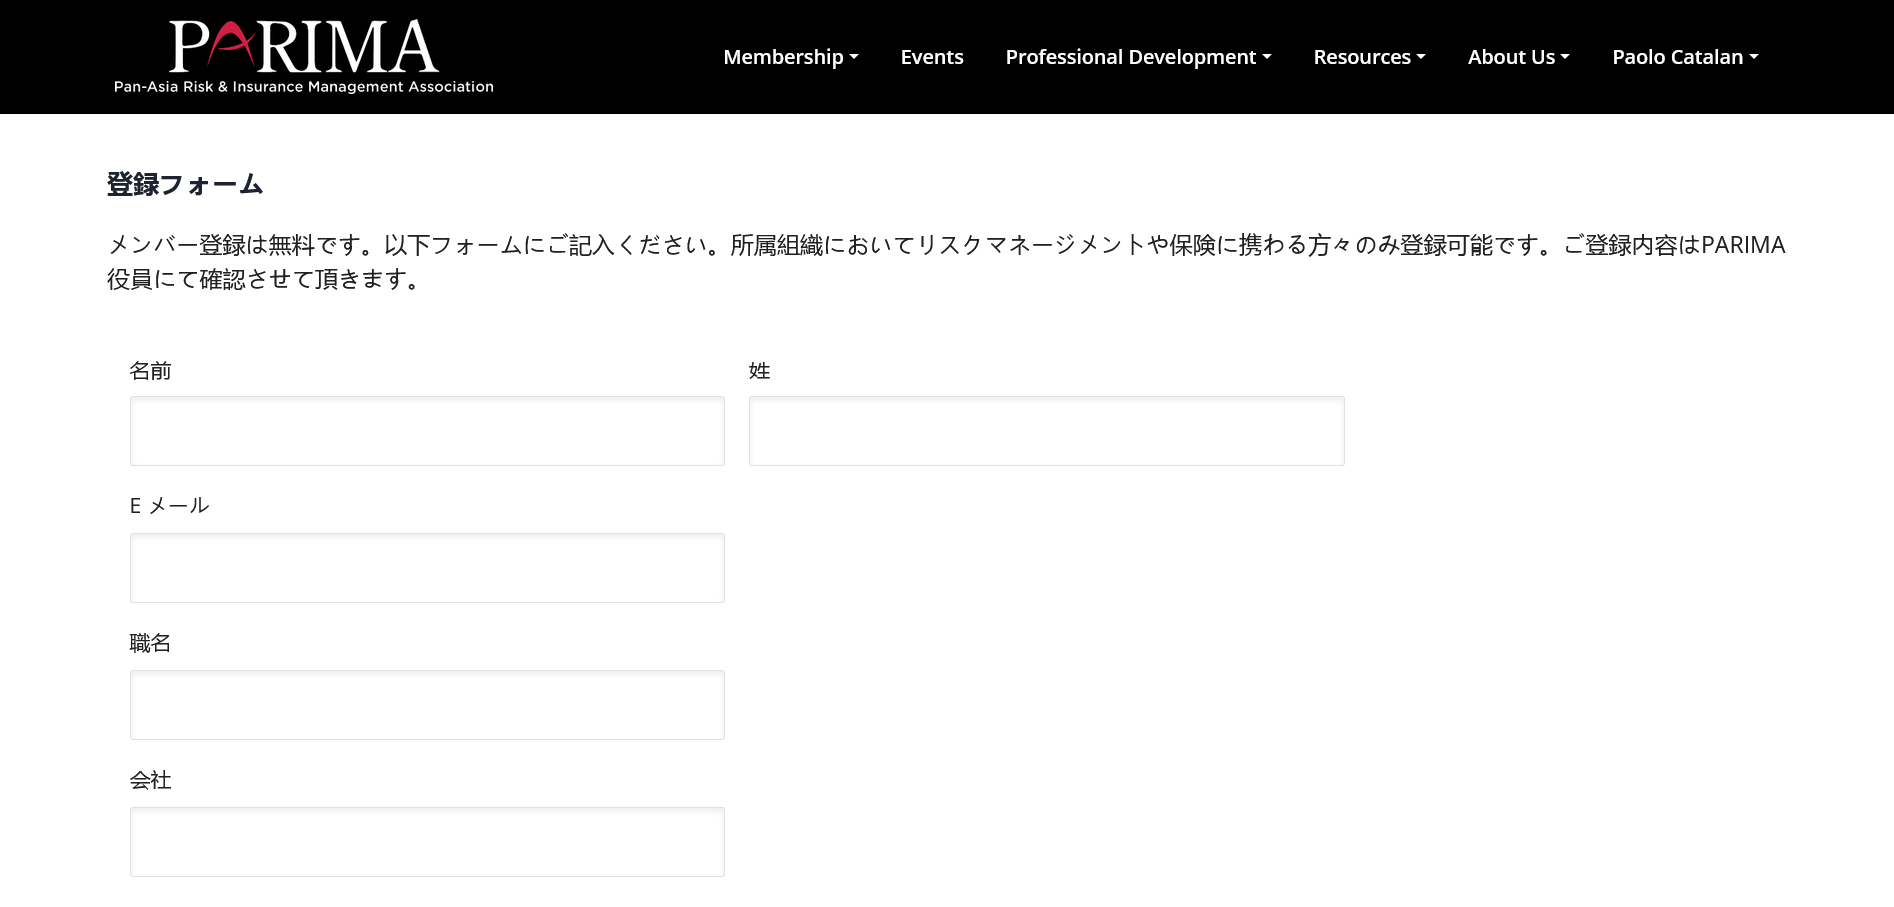
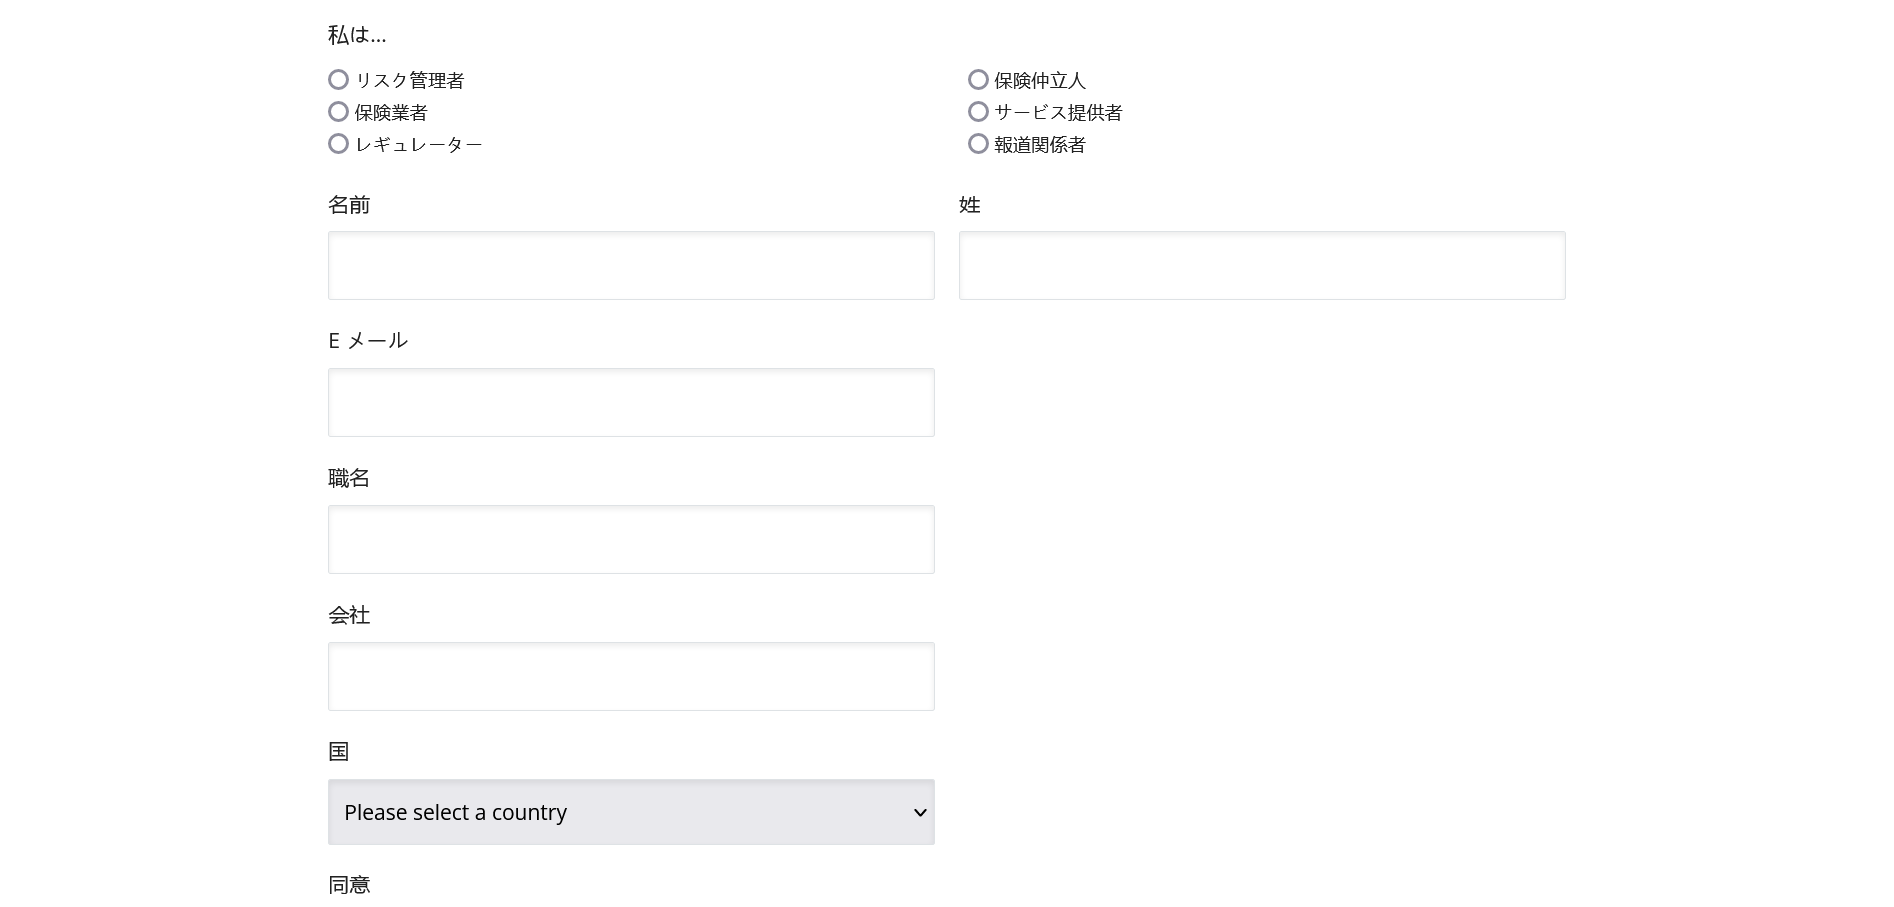
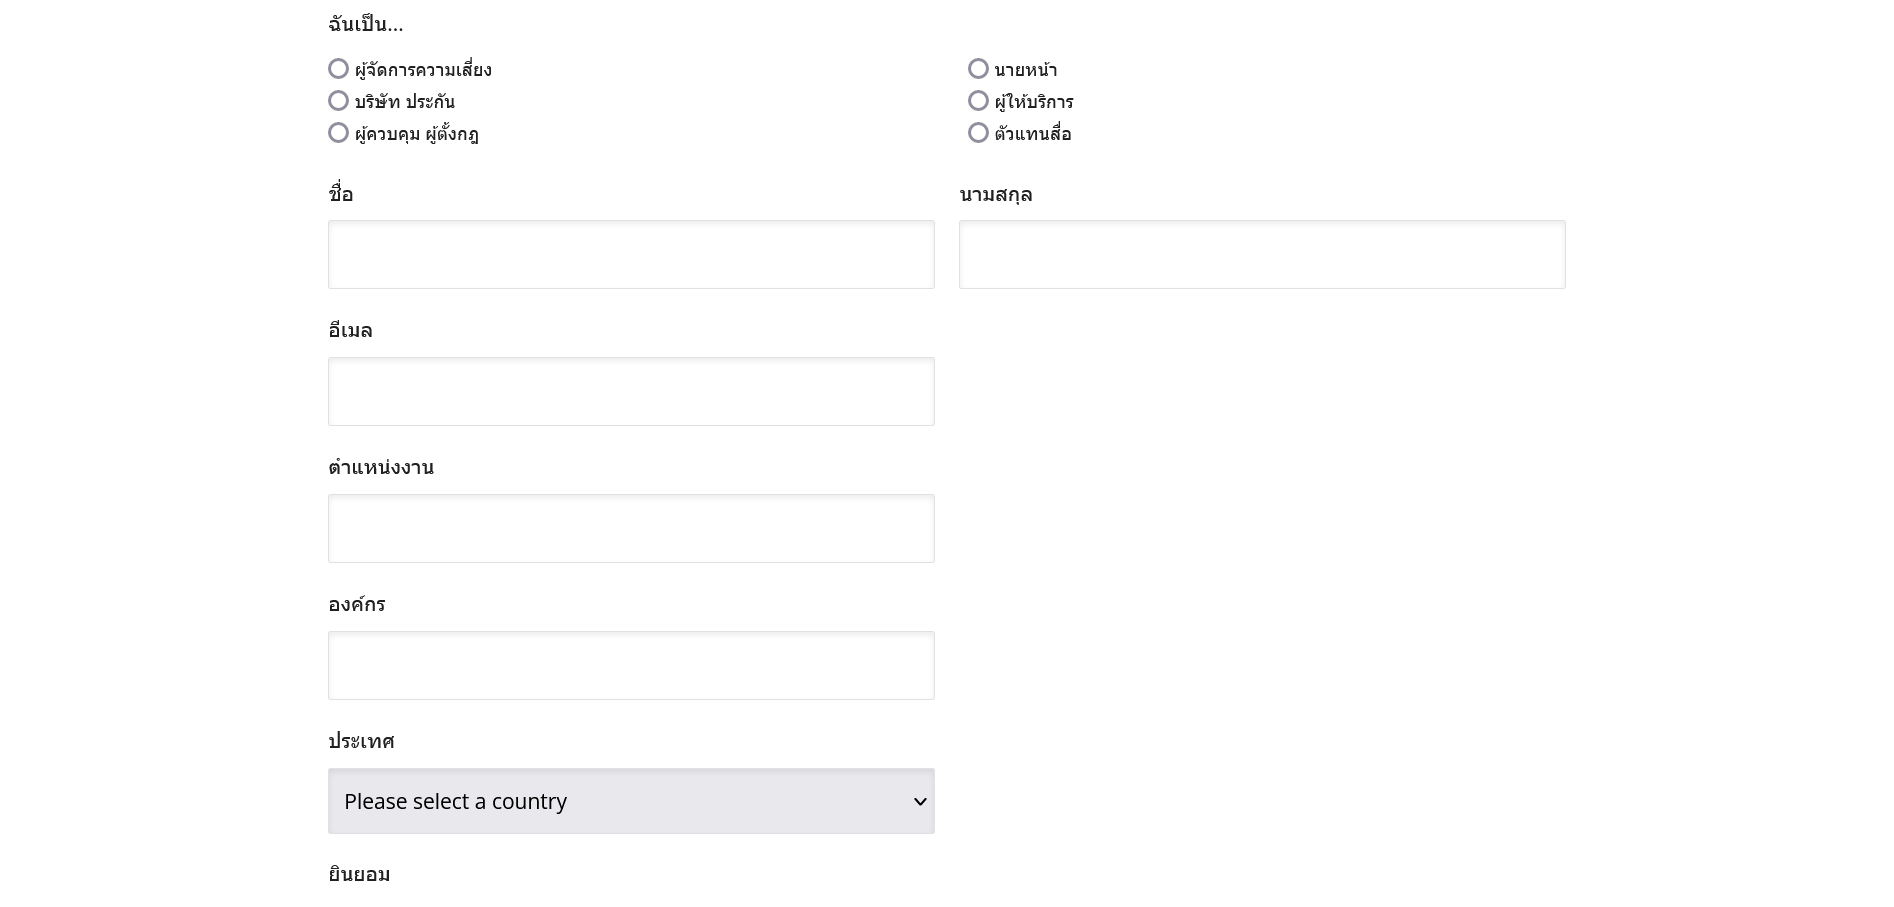
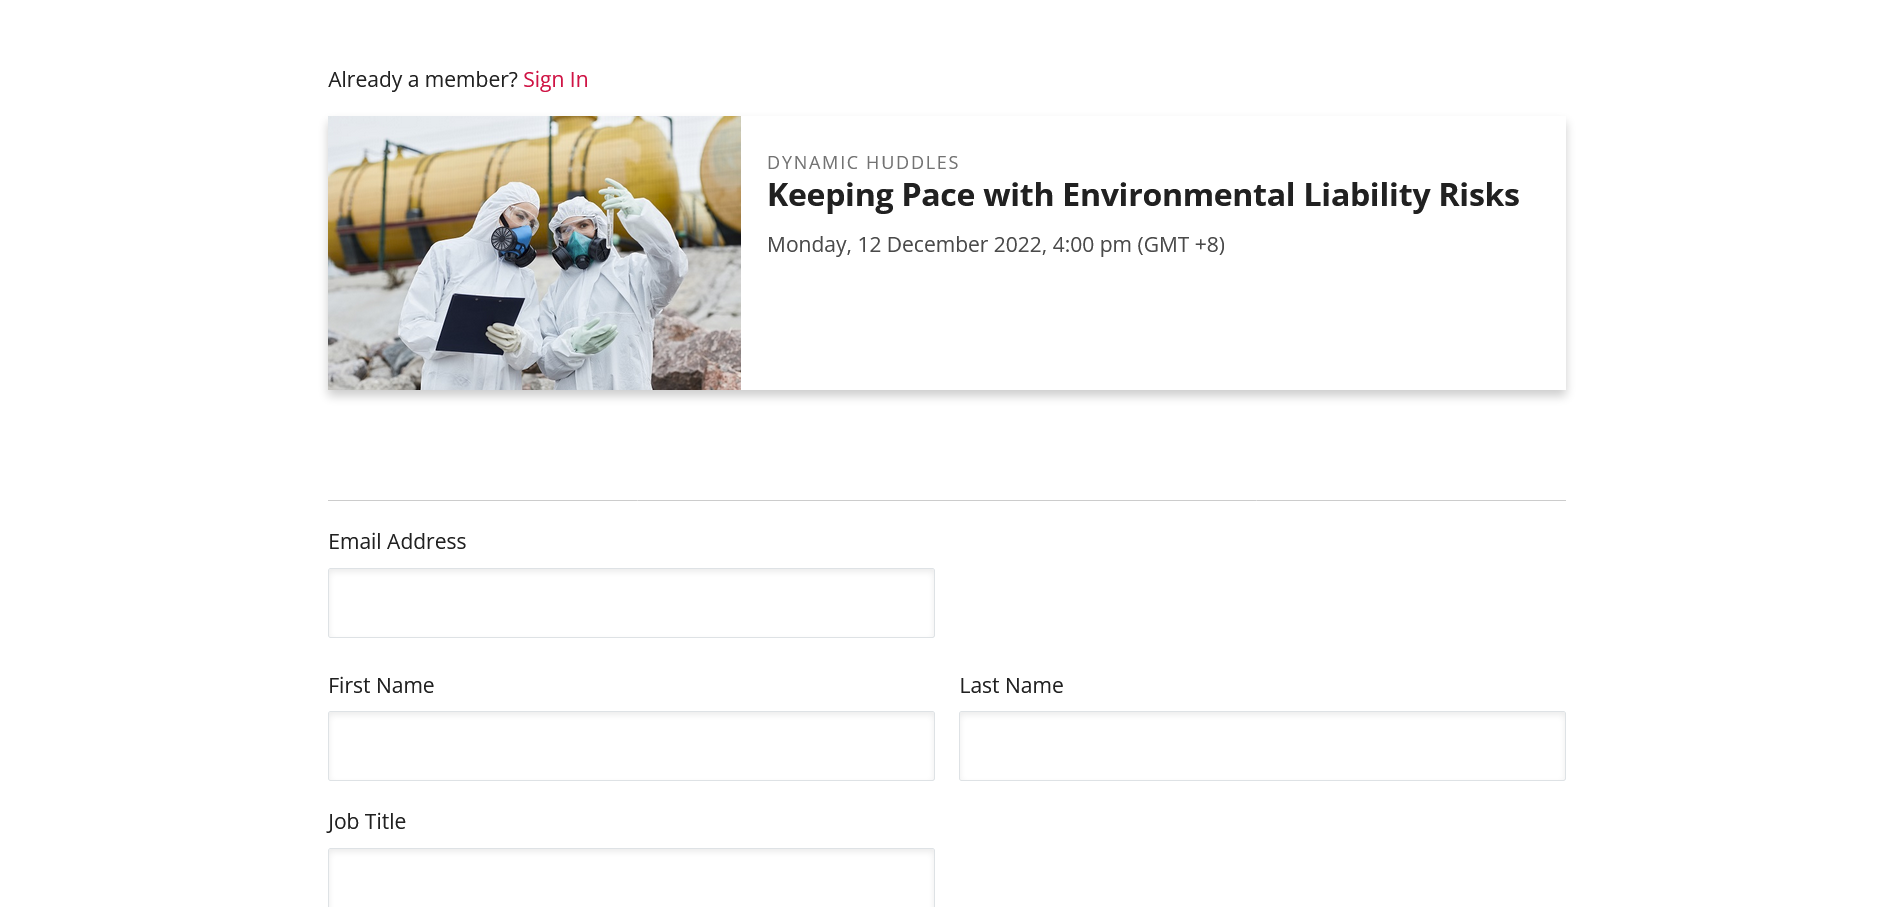
The registration forms is a simple and intuitive way for visitors to register an event and apply or renew for membership.
Where to Add a Forms
- Navigate to Forms > All Forms
- Click on the form you would like to edit
- You will automatically land on the Form page tab
- You can immediately start adding your fields and workflows.
Where to Export Entries
- Navigate to Forms > Import/Export
- Select a form you would like to download.
Where to Export Members
- Navigate to Tools > Import and Export Users > Export
- Select Subscribers and click download.
Events
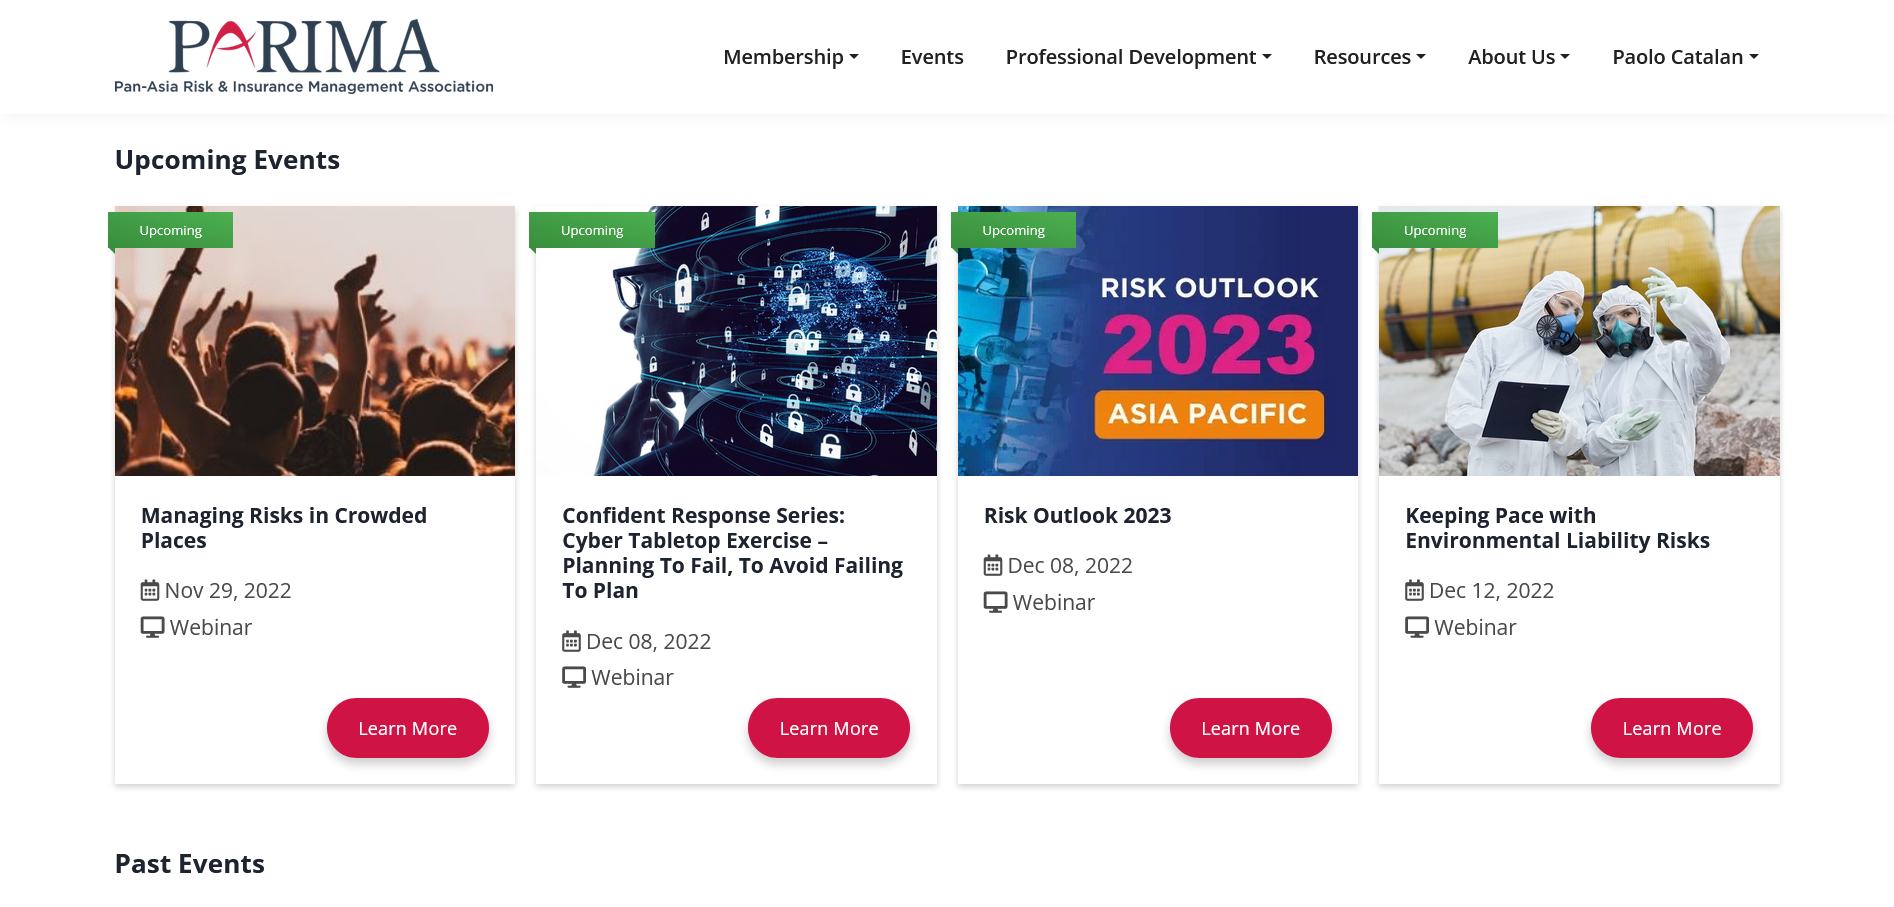
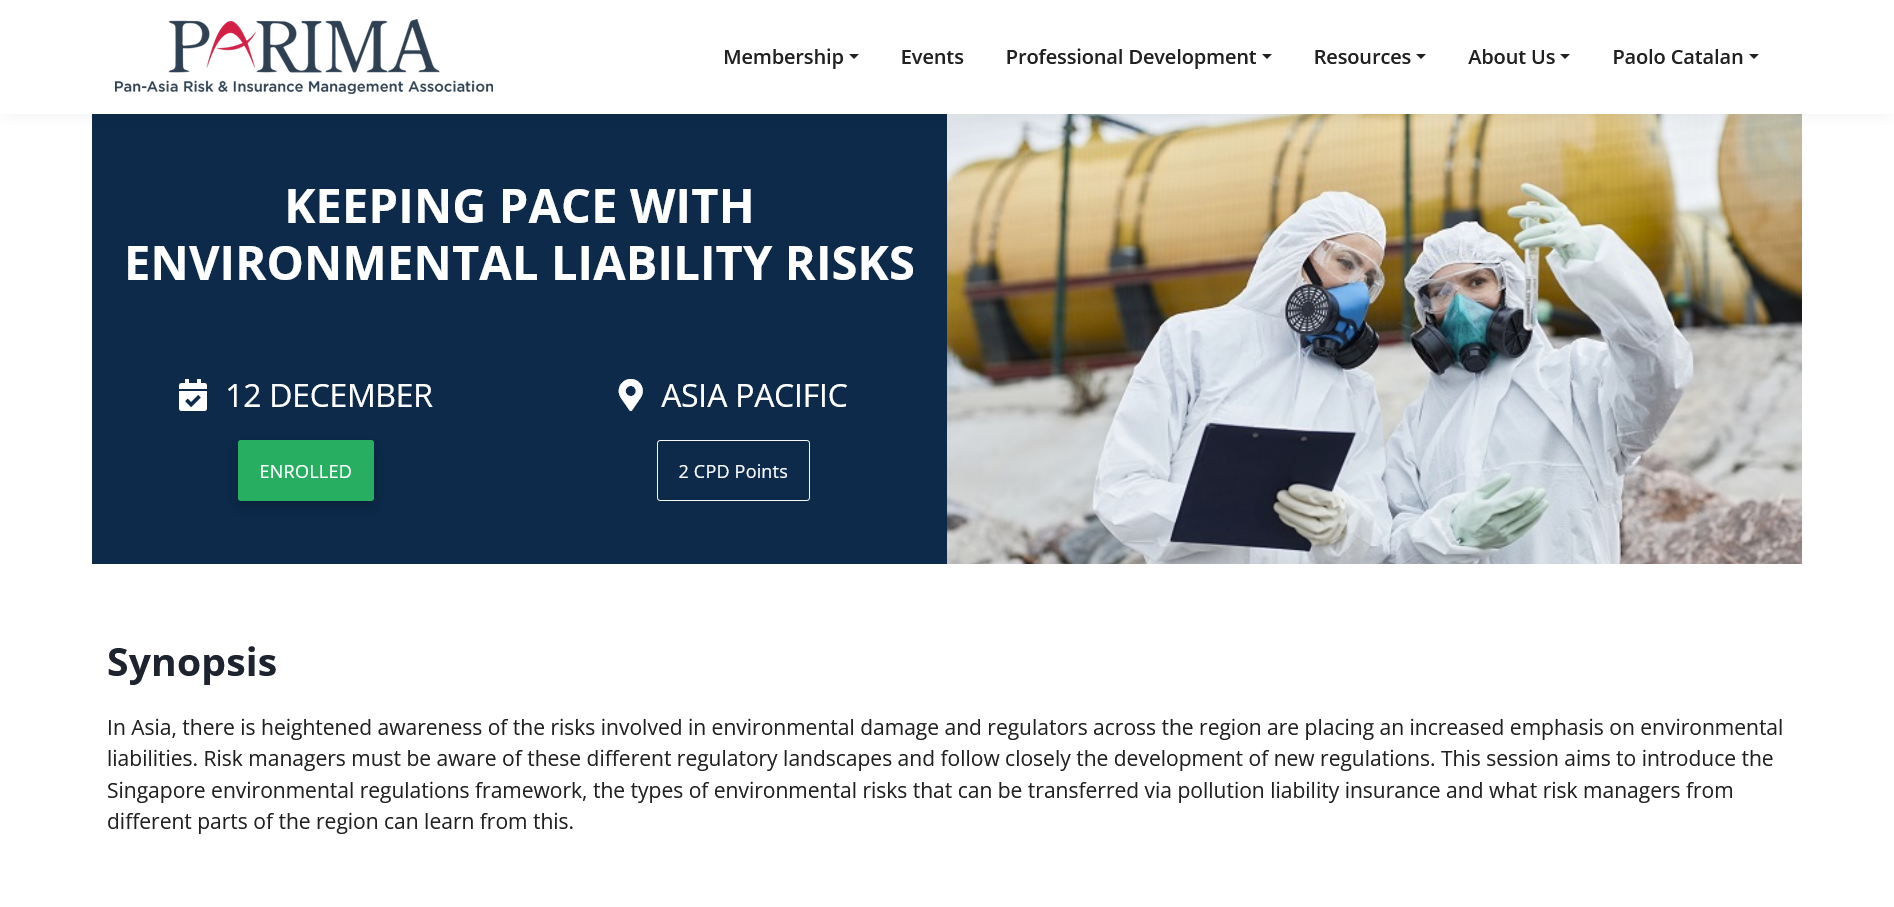
The page is a great place to showcase our latest events. We can include all of our upcoming events in one place, including a link back to the event details page.
Where to Add an Event Page content
- Navigate to LEARNDASH LMS > COURSES
- Click on the course you would like to edit
- You will automatically land on the Course page tab
- You can immediately start adding your event title, date, and CPD Points.
- Edit with Elementor
- Add redirect under Custom Fields for external links
Where to Add Notifications
- Navigate to Forms > Event Registration > Notifications
- Click on the notification you would like to edit
- You will automatically land on the Notifications page tab
- You can immediately start adding location or streaming links.
- Conditional shortcodes to display event details
Risk Competency Framework
Follow the instructions to complete the assessment. This may include providing personal information such as your name, email address, and other demographic information. Once you have completed the assessment, the provider will generate a report in PDF format. This report will contain the results of the assessment and any recommendations or observations made.
Resources
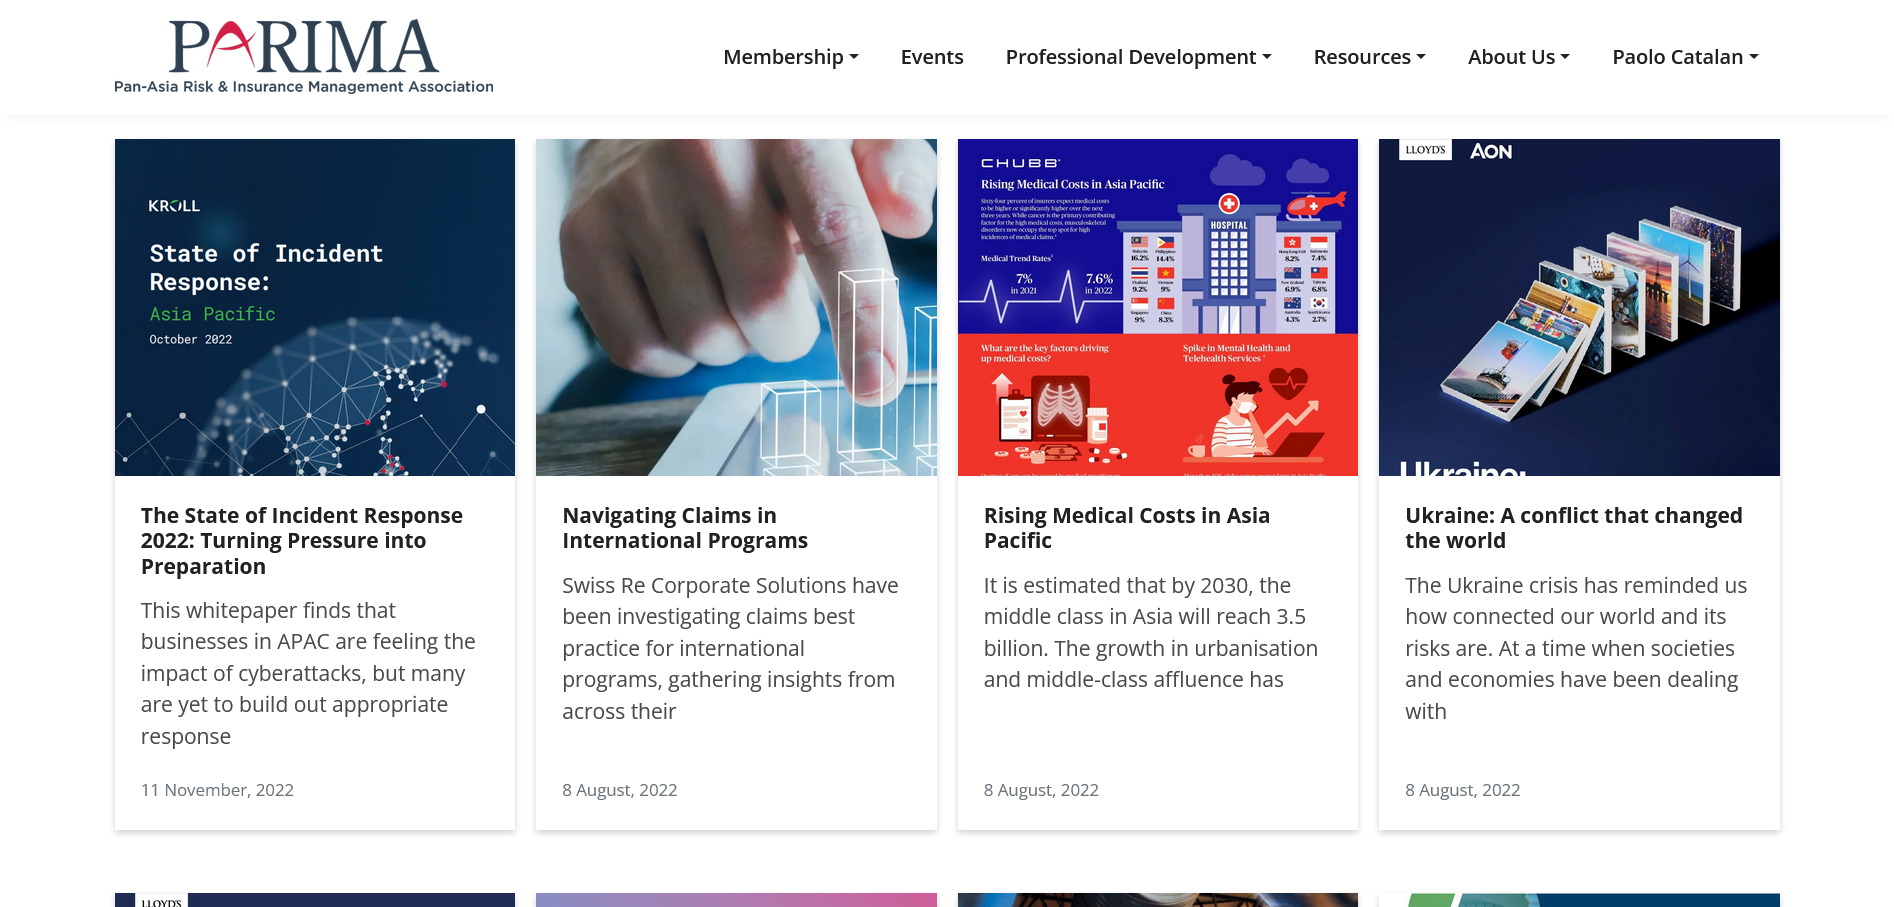
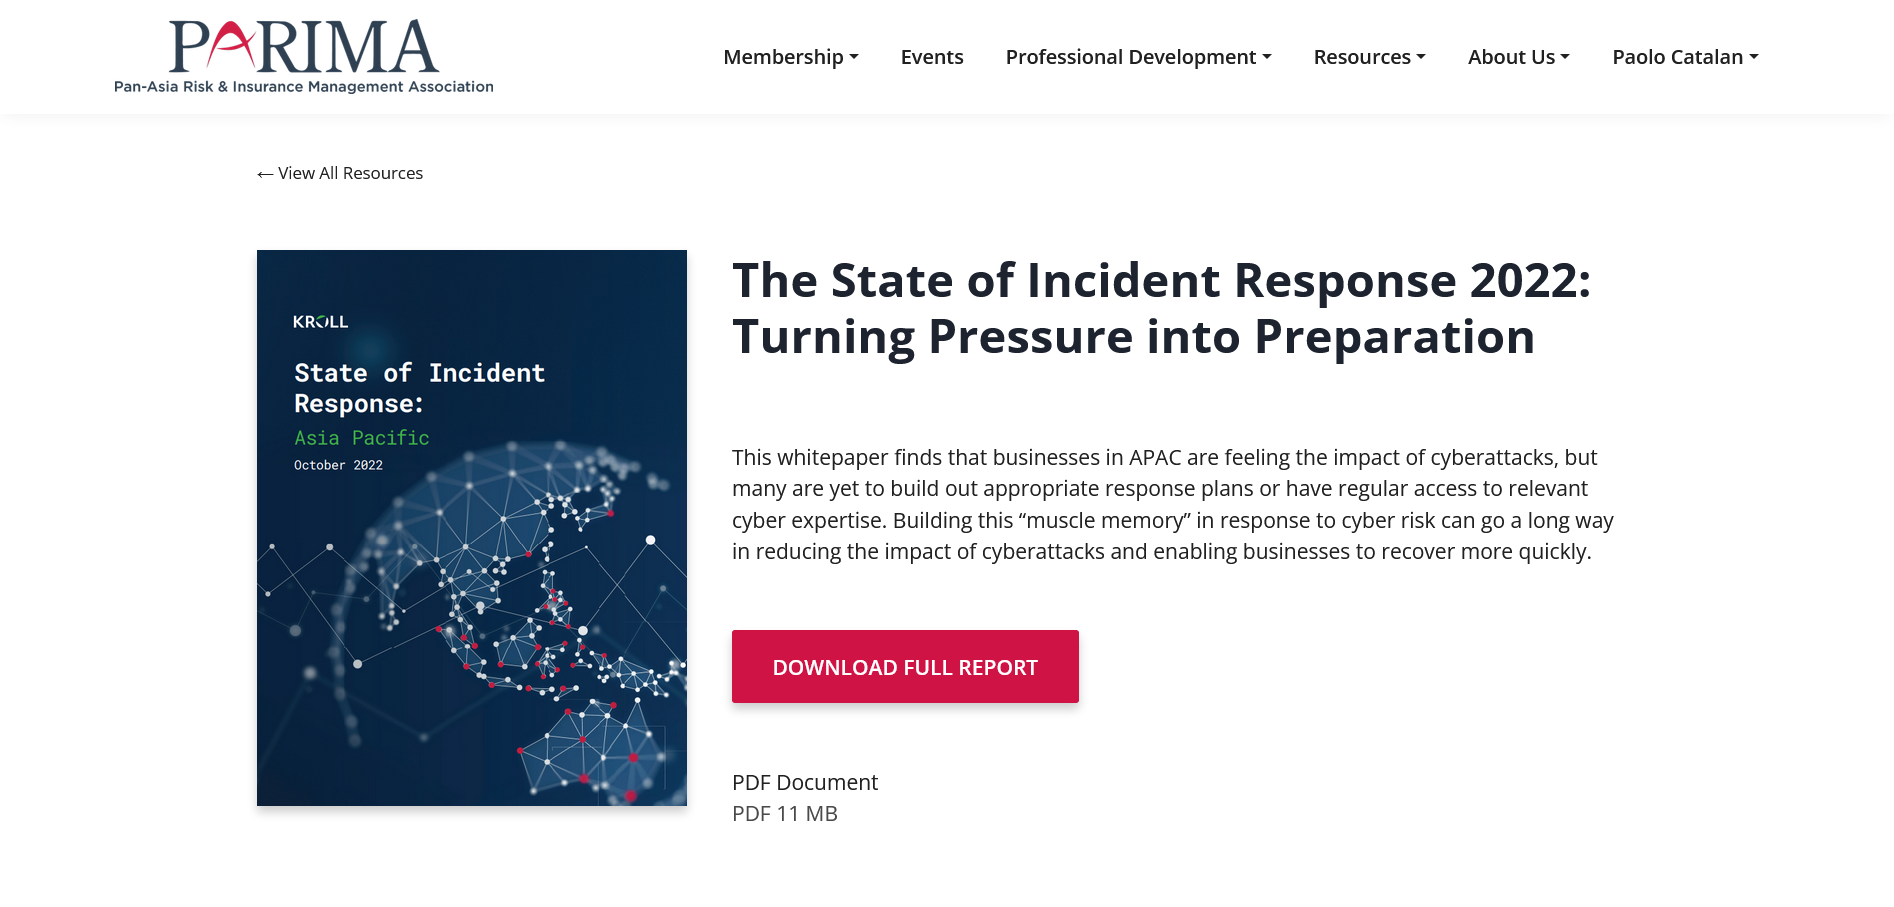
The page is designed to help members learn about how to be successful in these fields.
Where to Add a Resources Page content
- Navigate to Posts > All Posts > Category Resources
- Click on the resources you would like to edit
- You will automatically land on the Resources page tab
- You can immediately start adding your title and excerpt.
News
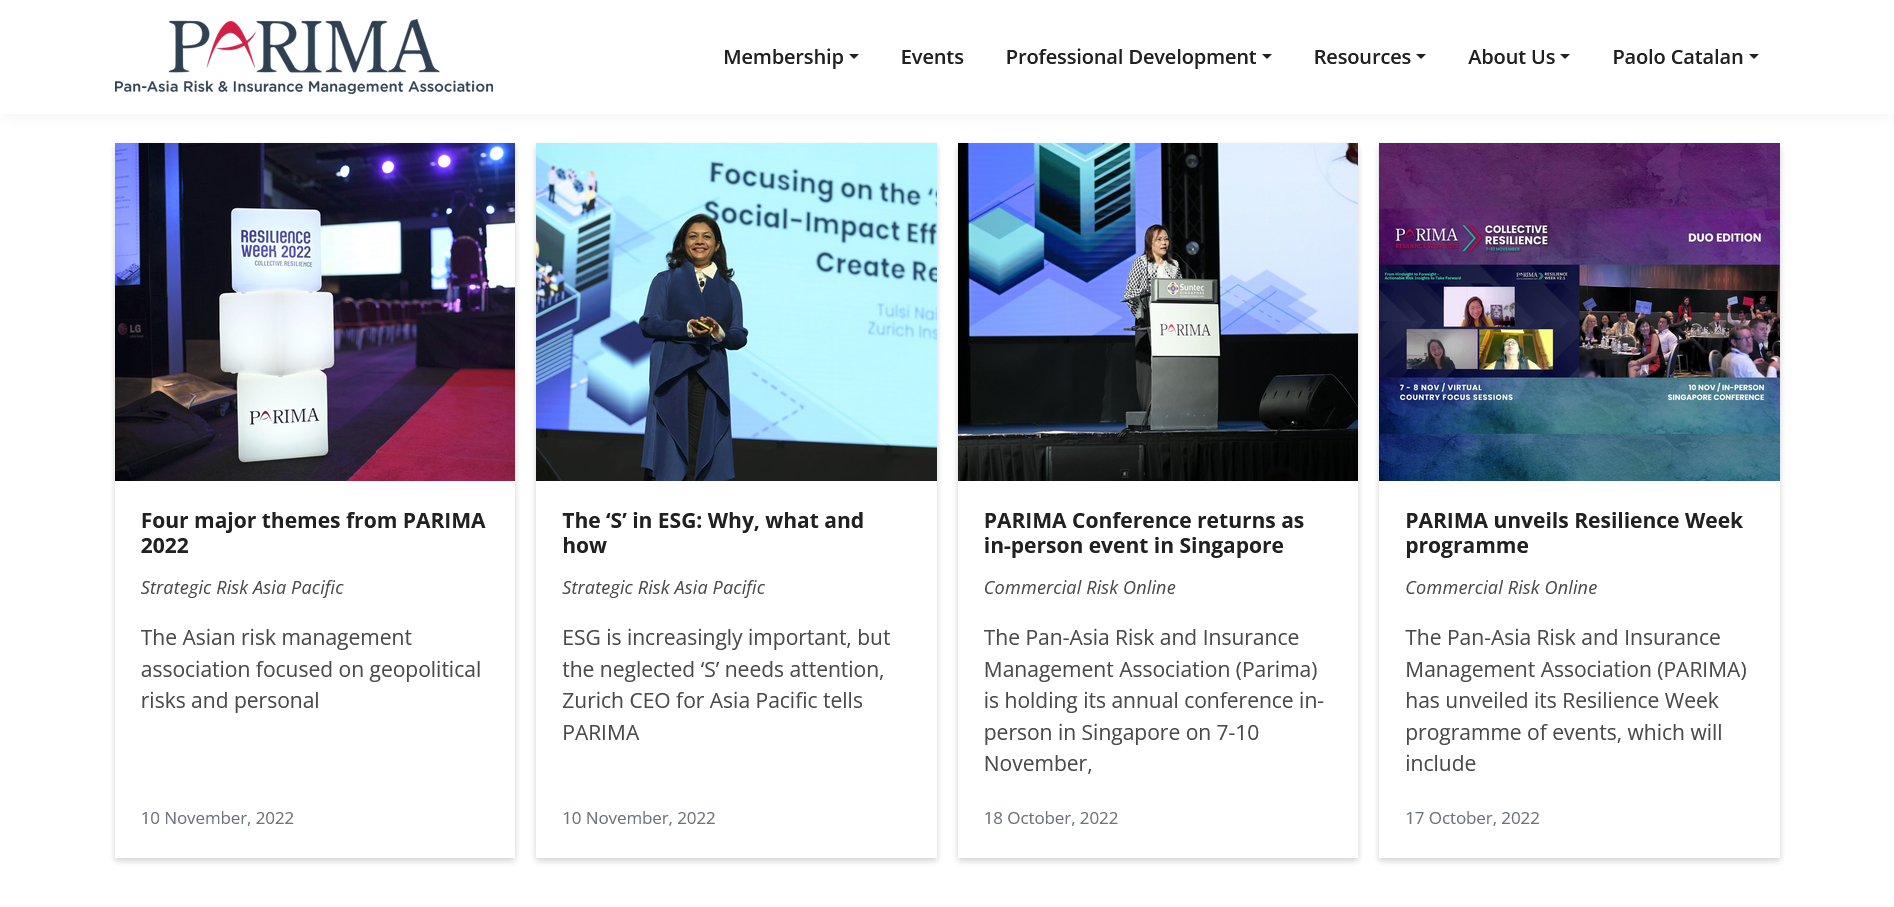
The page is a News Media that provides latest articles and news on various topics.
Where to Add a News Page content
- Navigate to Posts > All Posts > Category News
- Click on the news you would like to edit
- You will automatically land on the News page tab
- You can immediately start adding your title, excerpt and sources.
Dashboard
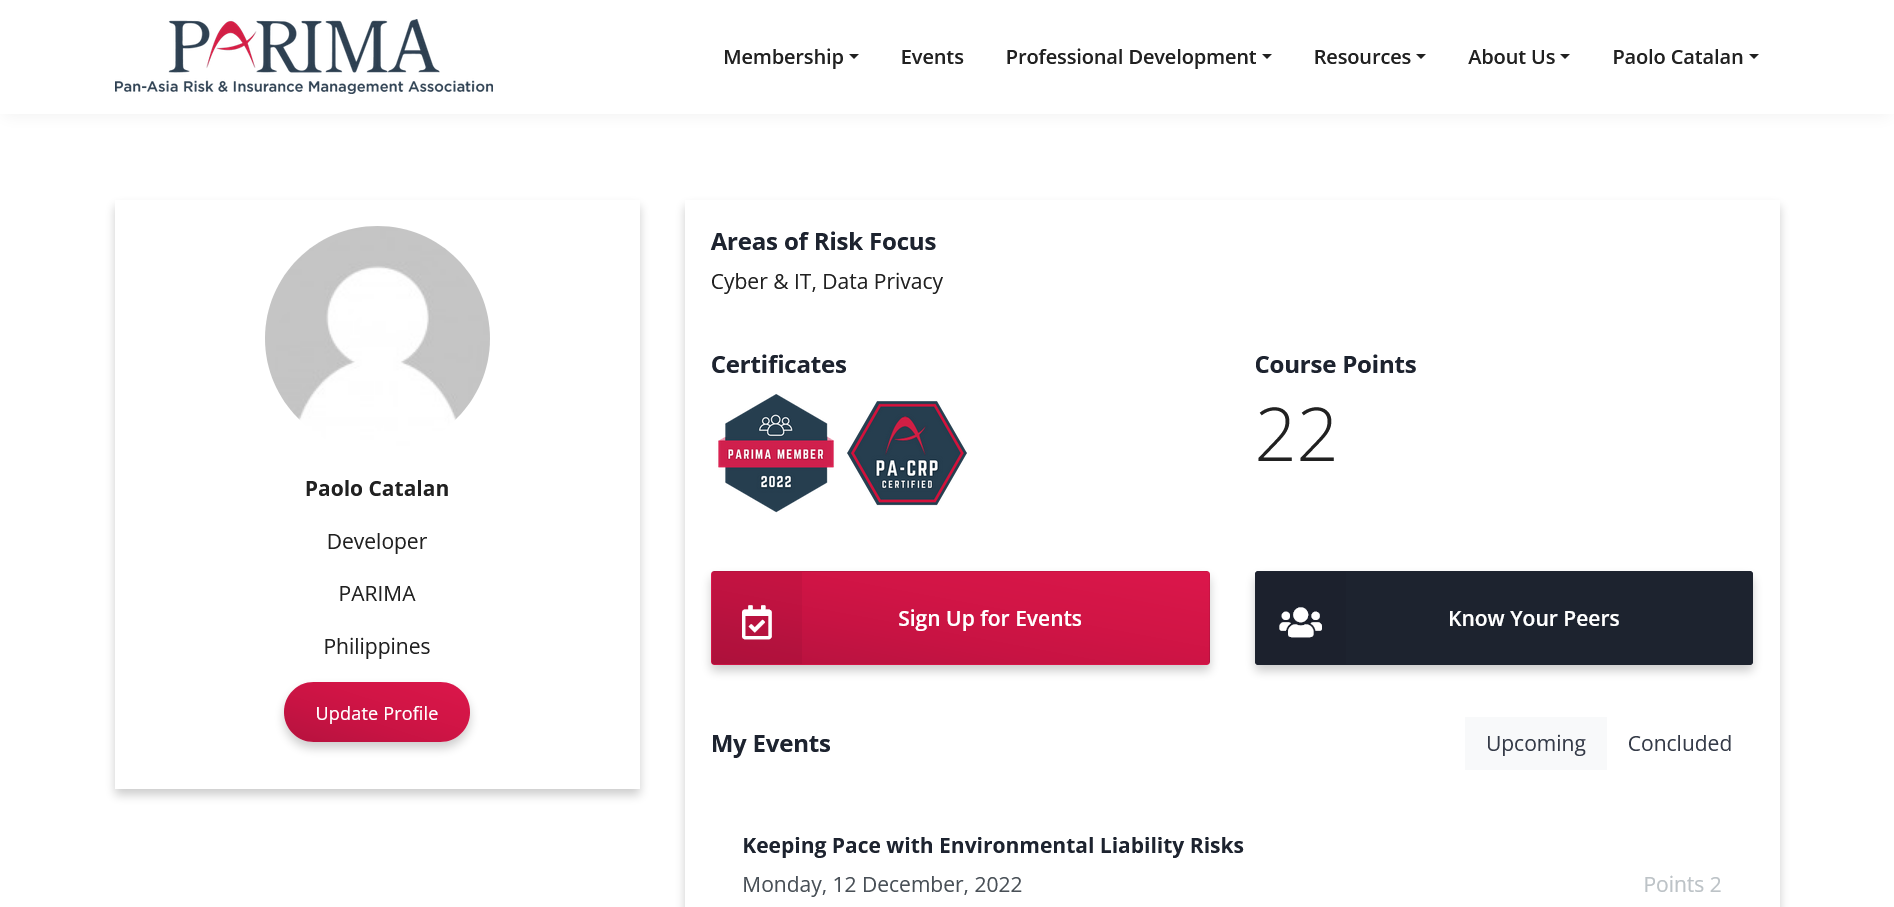
The member's profile will be filled with data such as name, email and other information that could be helpful to the member.
- This information will be shown in members directory.
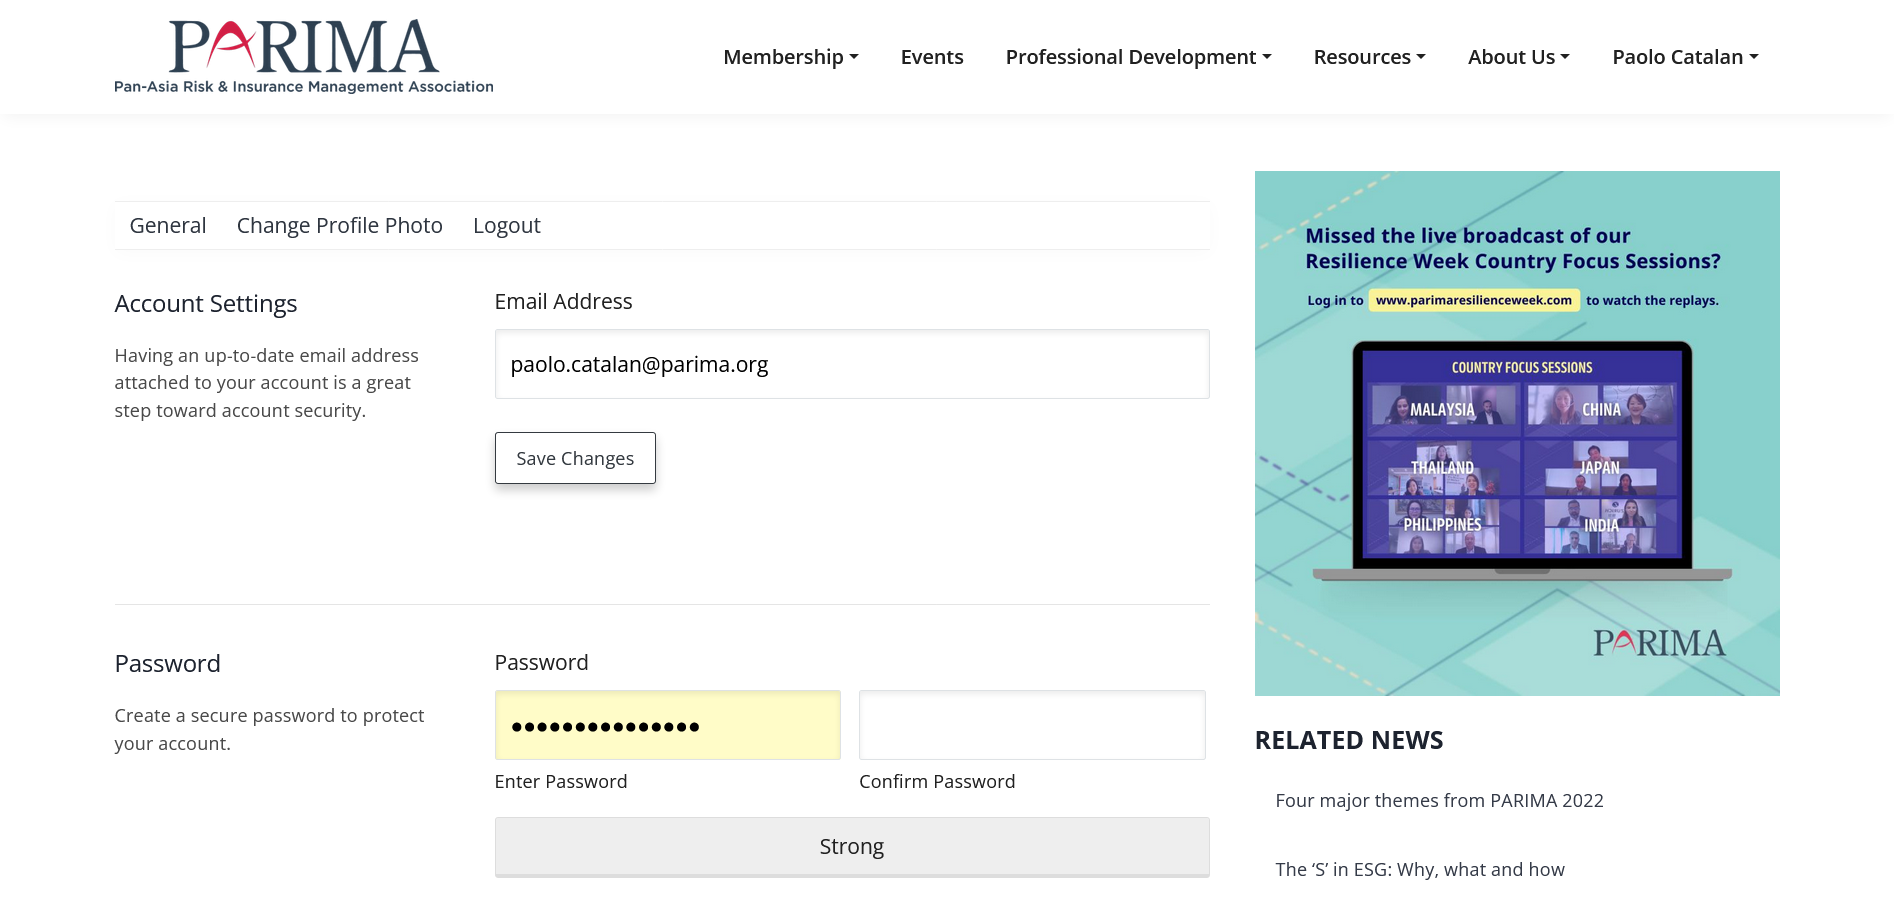
- Having an up-to-date email address attached to our account is a great step toward account security.
The email address and password we use to log in to Analytics are a part of your Google Account. To update this information, visit www.google.com/accounts.
Email Address: team@parima.org
We can add users at the account, property, or view level. The level at which you add a user determines that user's initial access. For example, if we add a user at the account level, then that user also has access to all the properties and views in the account, with the same set of permissions. If we add a user at the view level, then the user has access to only that view with the permissions we provide. we can change the level of access and permissions for a user at any time.
